Increase sales by just adding flat lay product photography
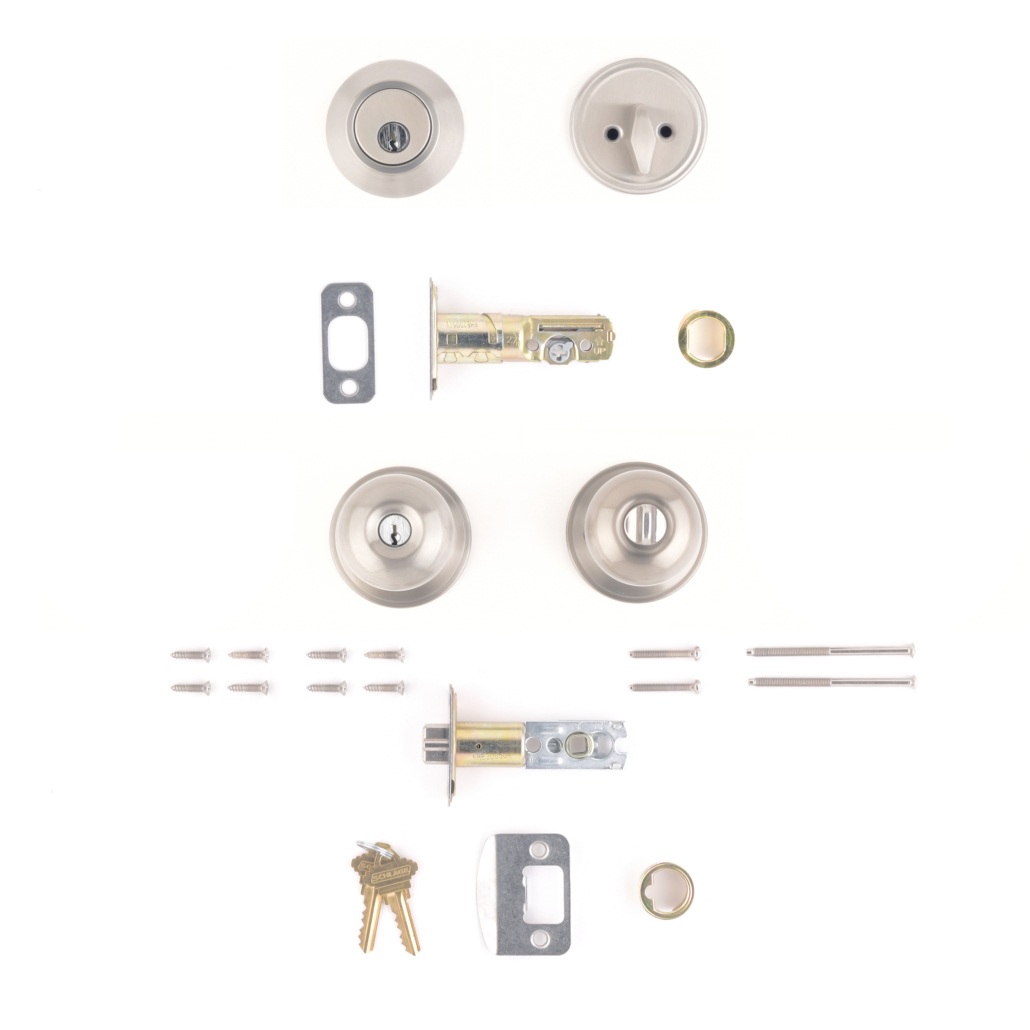
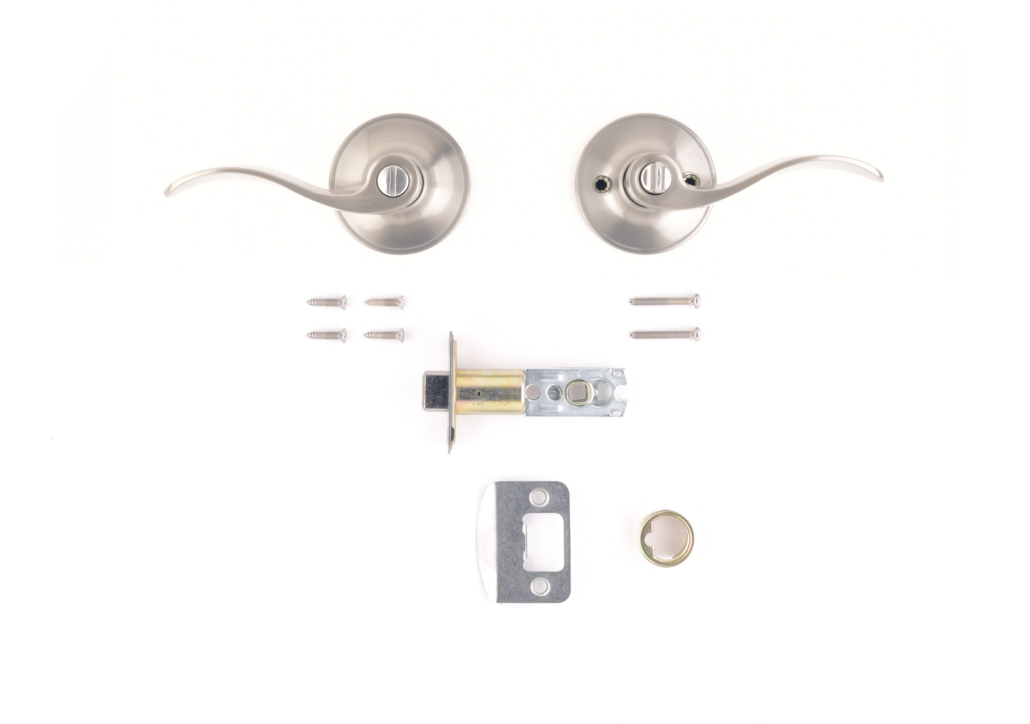
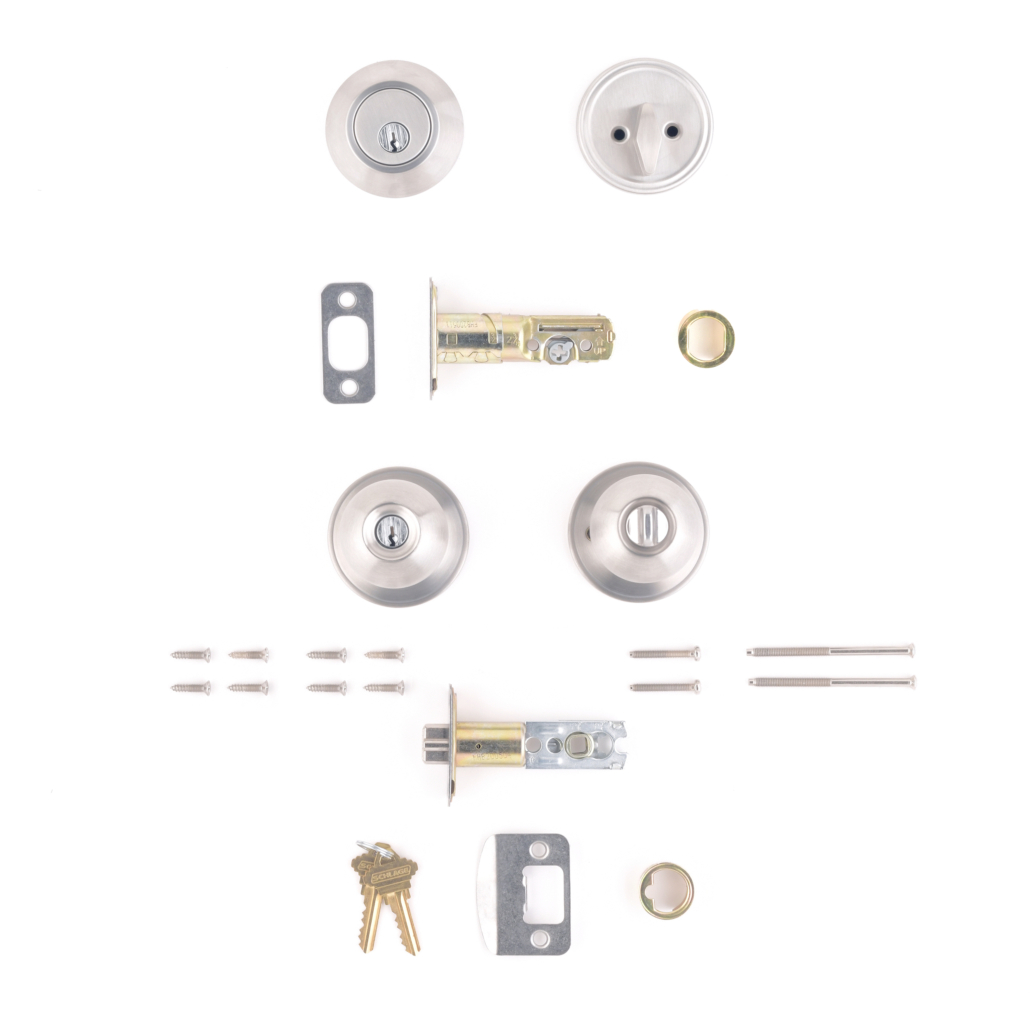
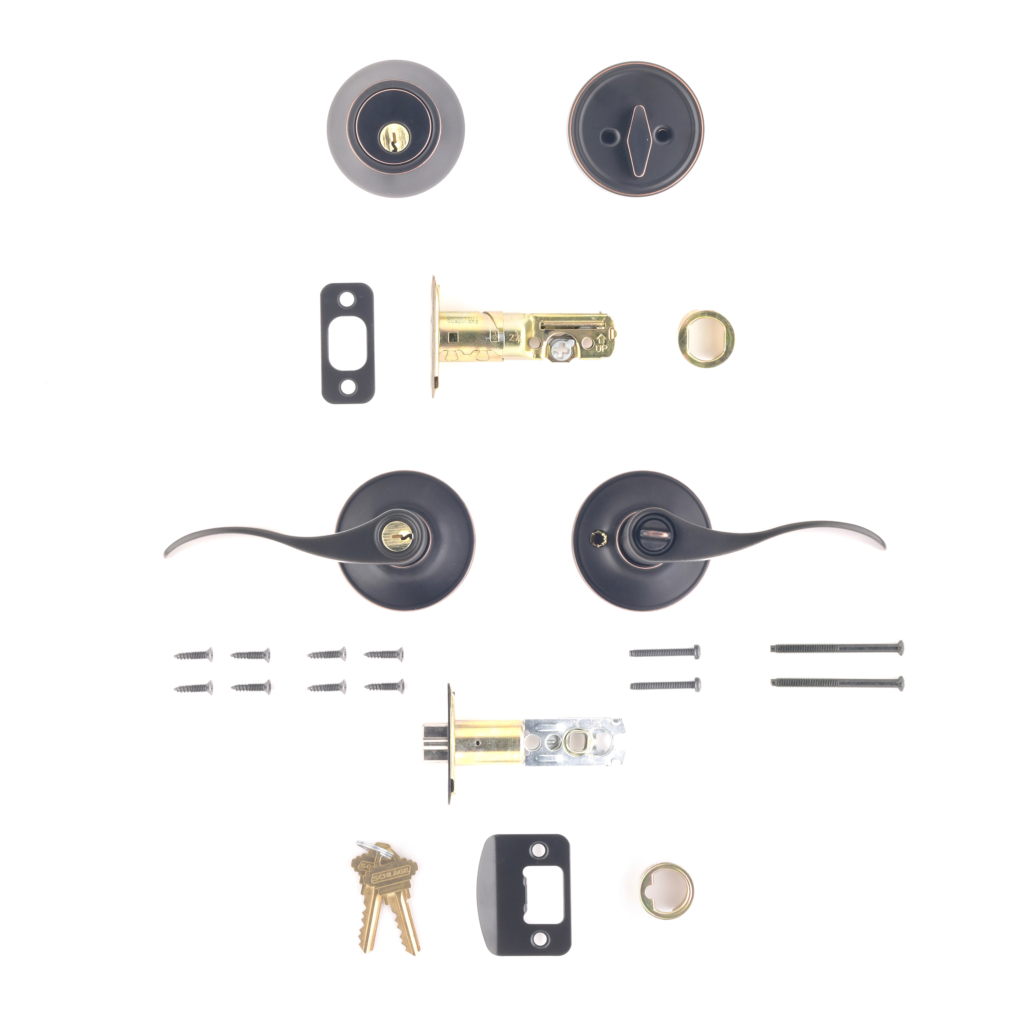
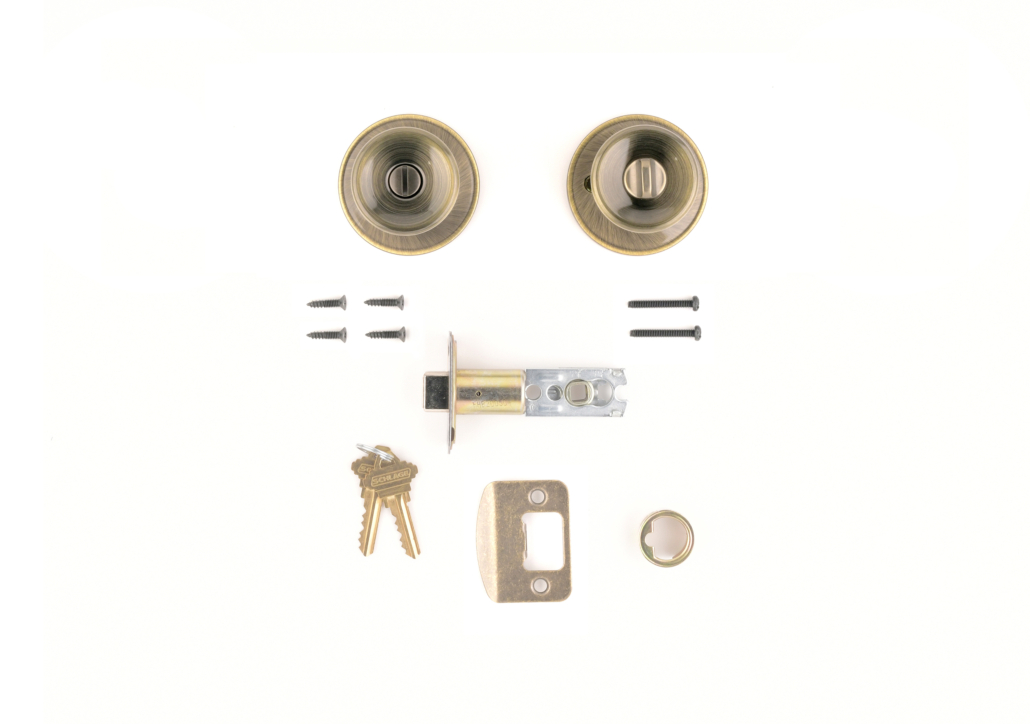
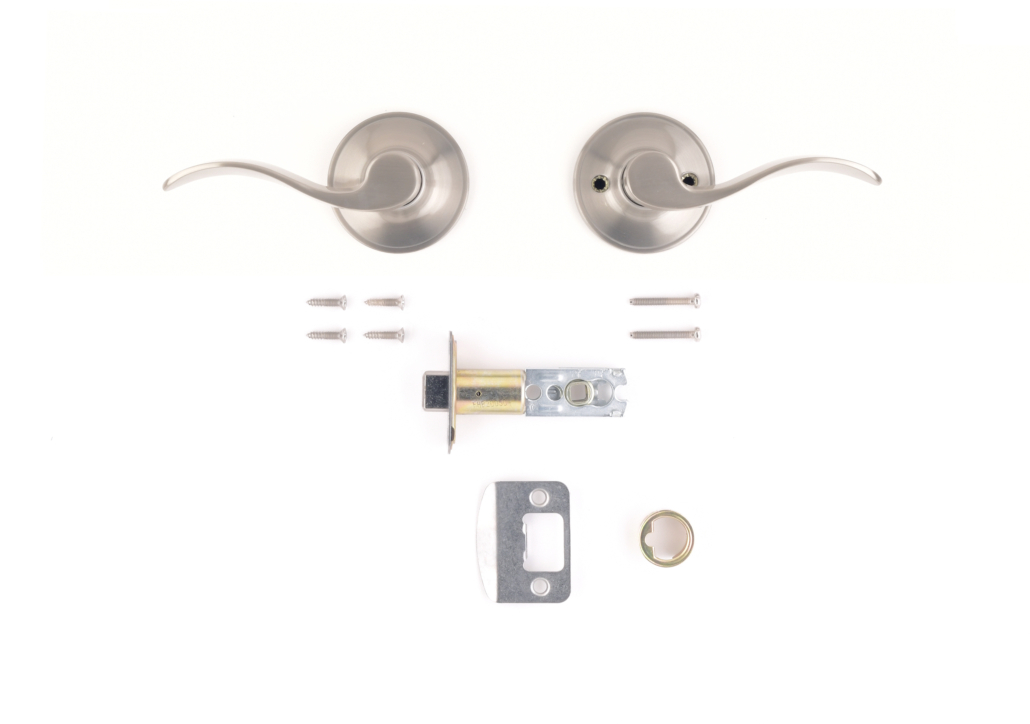
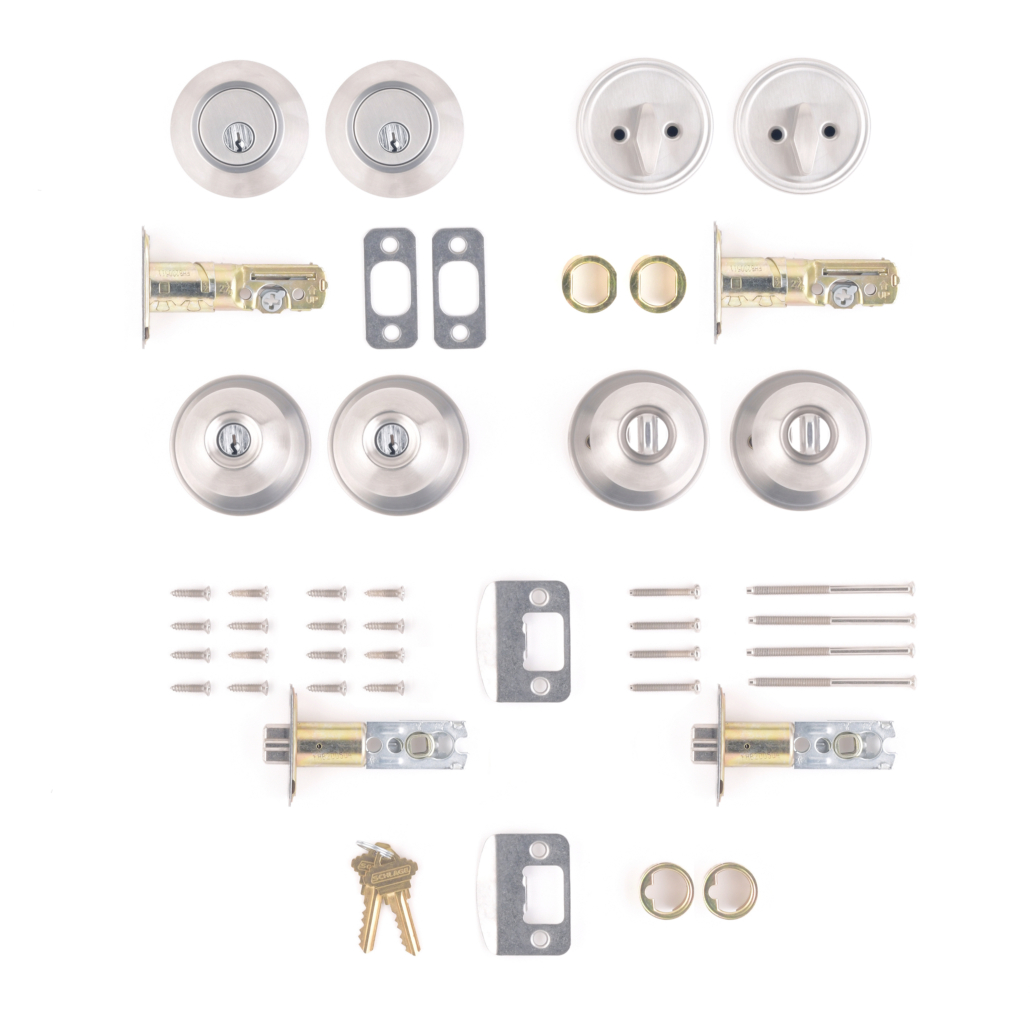
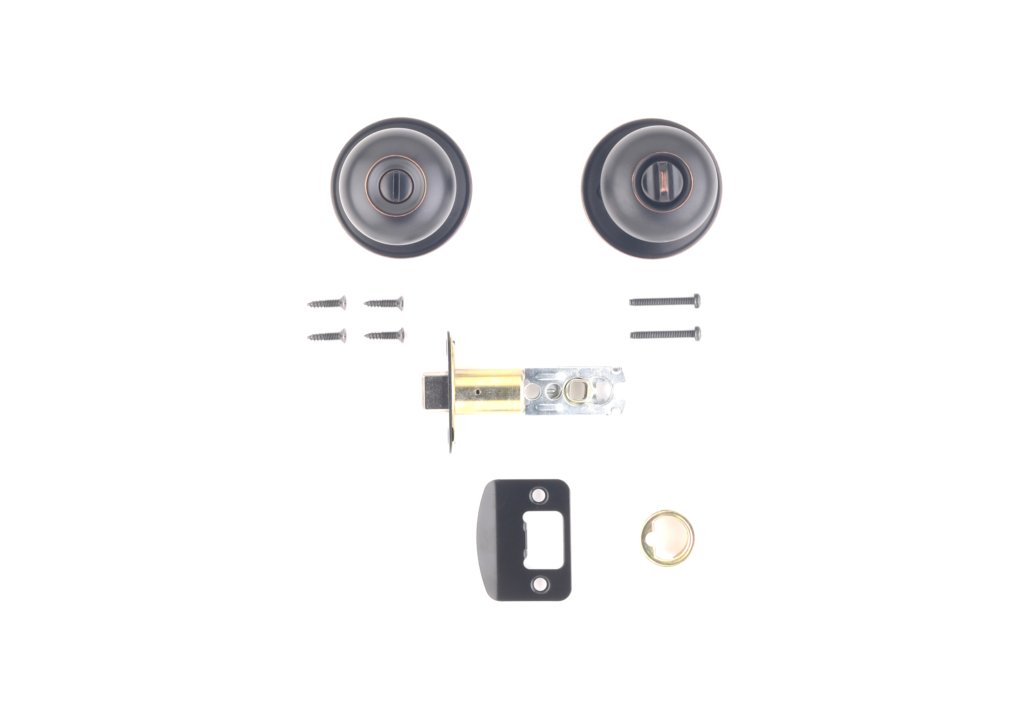
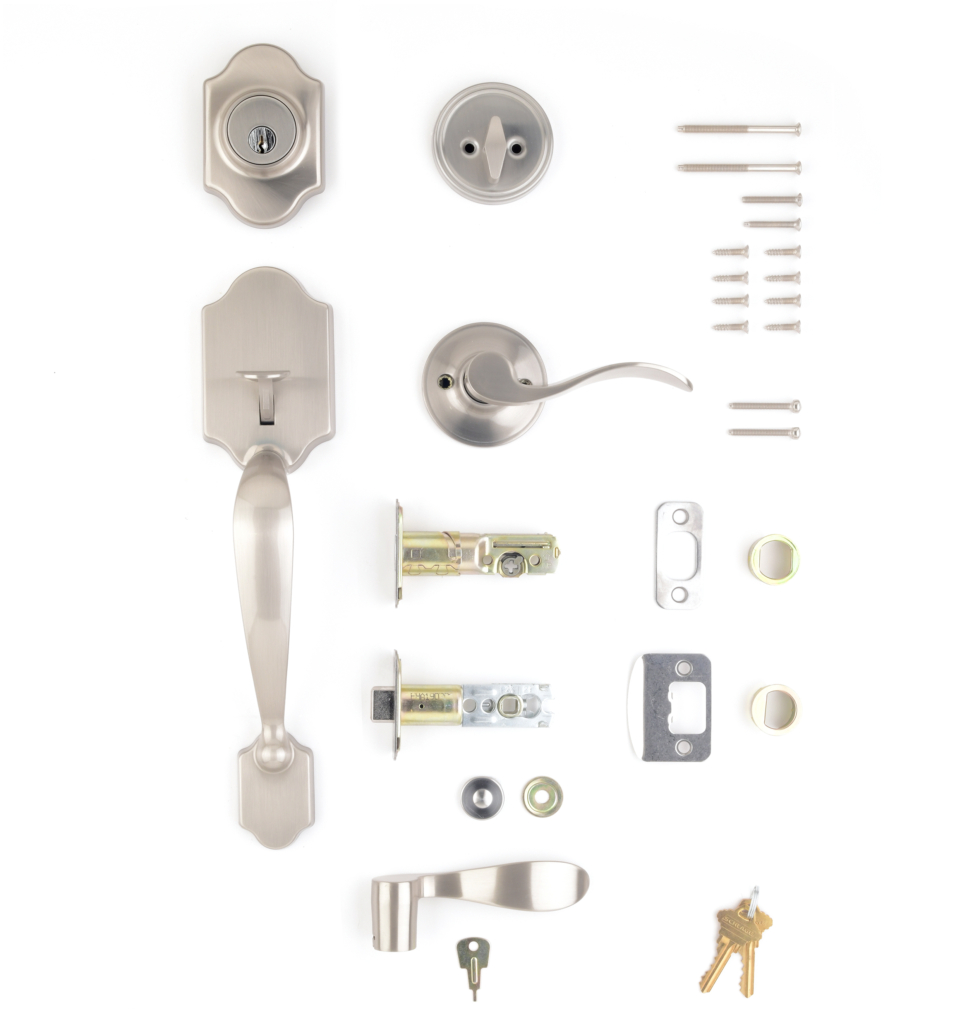
One of our clients asked for a little bit more this week. They wanted some additional stills to go along with their 360 product photography. And this time it was not your run of the mill stills, either. They wanted some “What’s in the box” shots of their products. They are working more towards the online retailing space with their required photography and wanted to see how “flat lay” shots worked for them.
Flat Lay Product Photography is similar to standard product photography in that you use a camera, lighting and the product, but it differs in that it is a viewpoint that is sometimes referred to as a birds eye view, or a top down shot. The camera is positioned directly above the product and shot straight down, giving a good overall view of the product as it lays on a table.
Flat Lay Product Photography Design
Product photography is right in our wheel house: we set them up and knock them down, day in and day out. But this was a little different. We needed to work on a larger platform that we usually do for the product display. We also needed to have an easy working space to move into and out of so that we could set up multiple product displays. From a lighting standpoint, this was about on par for our regular photography setups, but for the camera placement, it was a very different story. We needed shoot from above, which meant that we needed to move the camera much higher up in the studio – without putting a DLSR at risk of toppling over. So we changed out a few of our tripods for C-stands, and honestly, those C-stands are probably going to become a permanent fixture in the studio. This then led to the need to have a wireless shutter release for the camera. Shortly after all of these changes we found that we also needed a remote monitor to view the images.
Flat Lay Product Photography Implementation
After doing the work in the design phase of the flat lay product photography shoot, we were able to work through the process of shooting 67 products in a timely and productive manner. We set up the products by type and then by the finish. We had the tabletop set up with the correct holes for the products to protrude through. This made it possible to set up each shot quickly and repetitively. After a day of shooting, the images were opened on the computer to review the final shots. Once we had a chance to review the shots, we found that the screws did not stay inline as perfect as we thought they would, but it was a simple change to get them lined up and corrected in Photoshop. Another time-saving step that we found was that we could reset the screws and layout in Photoshop.
Final Shots
Below, you will find a few of the examples from the flat-lay product photography shoot.
