In-House 360 Product Photography
Create your 360 Product Photography in-house. Here are a few of the suggested steps to create great 360 views using your in-house photographer and your existing studio.
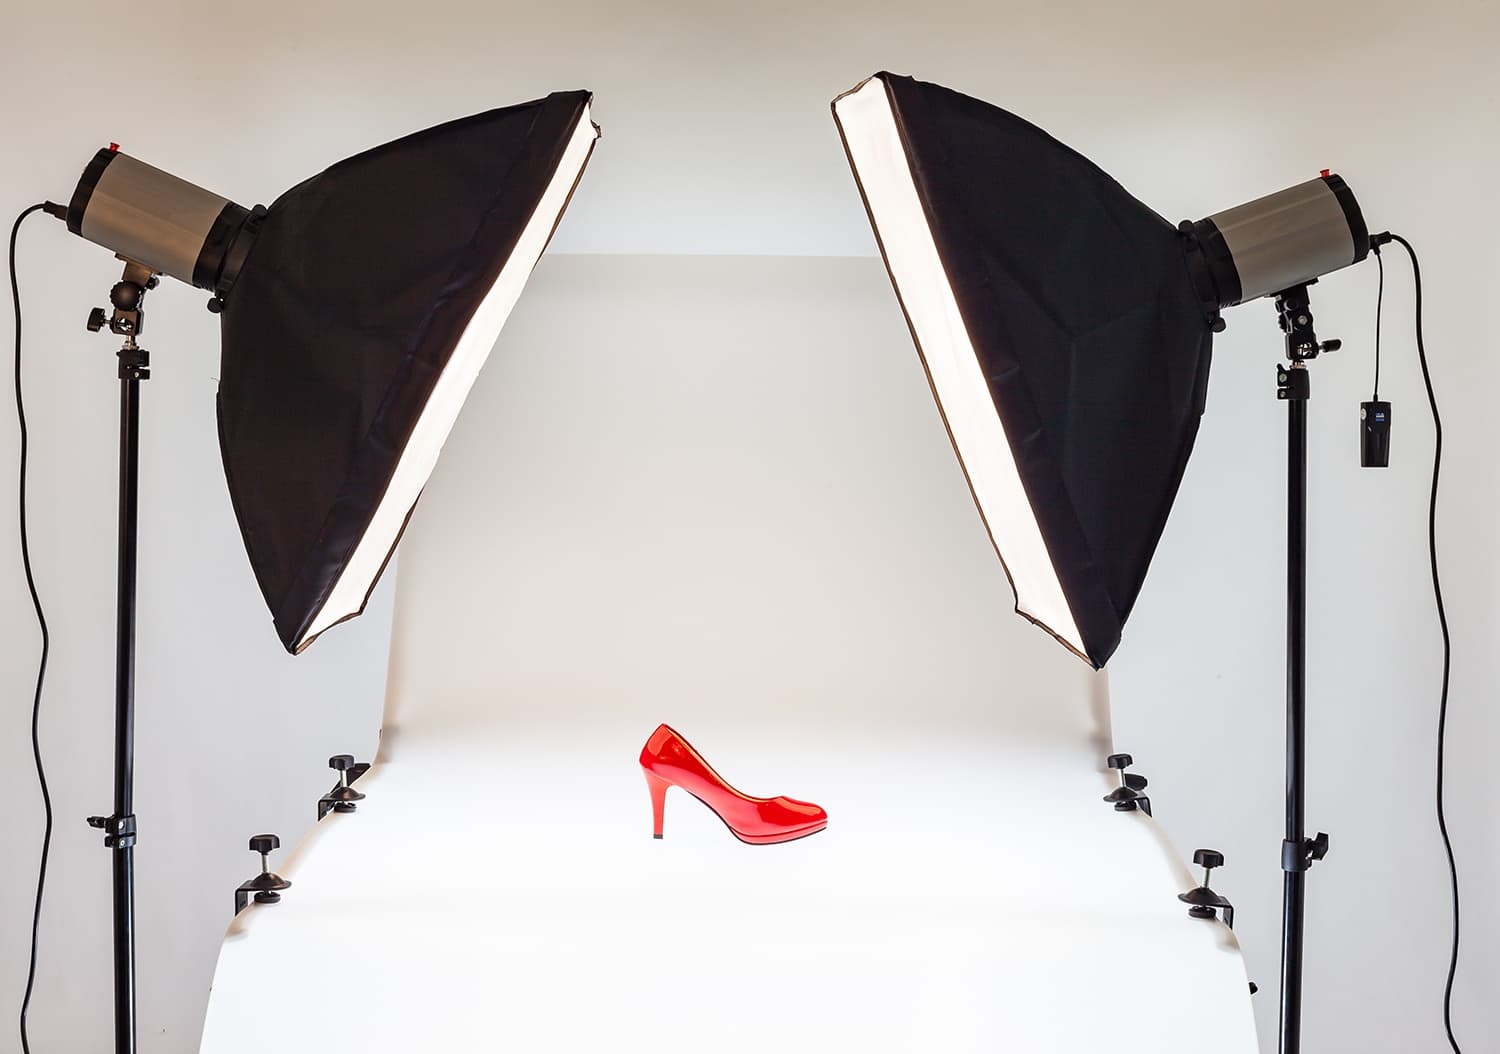
- Set up your in-house tabletop studio – We suggest that you use strobe photography for your studio. Over time the cost of hot lights will greatly surpass the initial cost of studio strobes. Take a look at Alien Bee for your studio strobes. In our medium studio, we use 6 studio strobes for lighting.
- Once you have the perfect tabletop studio setup that creates the perfect product shots, without a background and minimal shadows, you will need to select a Product Turntable that will suit your needs. Many different options exist that will work. In the current market, we would suggest looking at FotoRobot, Imajize, WebRotate360, or Ortery for your turntable needs.
- Adding in the turntable to your tabletop studio is as simple as removing your current tabletop and adding in the turntable. Learn the controls of your turntable either through software or through the controls on the turntable.
- Run test after test of the studio, you will want to have 90% of your image corrections corrected in the camera. Remember that you have 10 – 40 images for each 360 view.
- Learn the process of post-editing product photos. This part is always left out of most process descriptions. It can take a lifetime to learn these steps. We would suggest learning PhotoShop and Actions. This makes it possible to process multiple images in a single run(remember 10 – 40 images per 360 view). This will not be the final edits to the images, but it will correct things such as color, background, and contrast. Find a suitable 360 viewer. In the beginning, we had Quicktime. Their technology for a viewer was what started it all. Then we moved to Flash and everyone needed to make a new Viewer. Today we have many options for our viewers. You can start by looking for options that connect directly with your websites such as Magento, WordPress, or Shopify. The drawback of some of these options is that they do not have a simple review system built-in. Otherwise, you can use an external viewer, these are simpler for the review process, but the implementation side is more difficult.
- Once you have your first 360, create a process for mounting, rigging, and studio workflow.
As a note: It is always easier to correct your mistakes in the camera. If you need to reshoot an item, it will need to be unpacked, shot, packed, and processed. If you do it right the first time, it is much easier.
PhotoSpherix is a Product photography studio located in Indianapolis, Indiana. While we do not sell hardware, we are just photographers, we do know the industry, we are always more than happy to help, and if you find that in-house 360 photography is not right for you, click here to see our 360 product photography examples. We can always shoot your products at our studio.


Hi dear fellow professionals. I would like to start the 360 product photography. I am a skilled photographer with my own well equiped studio in Thessaloniki, Greece. I am aware about the iconasys systems wich are affordable, for fast cut out and batch actions. Maybe you know some other company… My worry is how to combine the photos and show to my client the 360 photo/video. Are there any softwares good enough for speed production and 360 view creators? Thank you for the helping information. I admire your work. P.S. In the… *In-House 360 Product Photography* paragraph, second line/row from the end, in the word, “photographers” you must replace the letter “o”.
Keep the good creations. Much obliged. Antonis Mimerinis from Adaxion Photographics.
Antony,
We have been using Garden Gnomes Object2VR for years. Our workflow has been designed around it for the final production of our 360 spin images. https://ggnome.com/object2vr/ I hope this helps.